
SnipCSS Pro Options Explained
Update | Jul 04, 2023
SnipCSS has a lot more to offer in the Pro version. Customize and personalize your snippets based on your own settings. In this blog, I will explain to you every feature you can access as a Pro member and recommend on when to use them.
Pro Options:
- Run at Multiple Resolutions
- Scope Genetic Elements to Snipped DOM
- Replace all CSS classes/IDs
- Remove unused CSS classes
- Removed unused HTML attributes
- Reload Page on resolution change (for pages with mobile version)
- Other Pro Membership Features
- Conclusion
Run at Multiple Resolutions
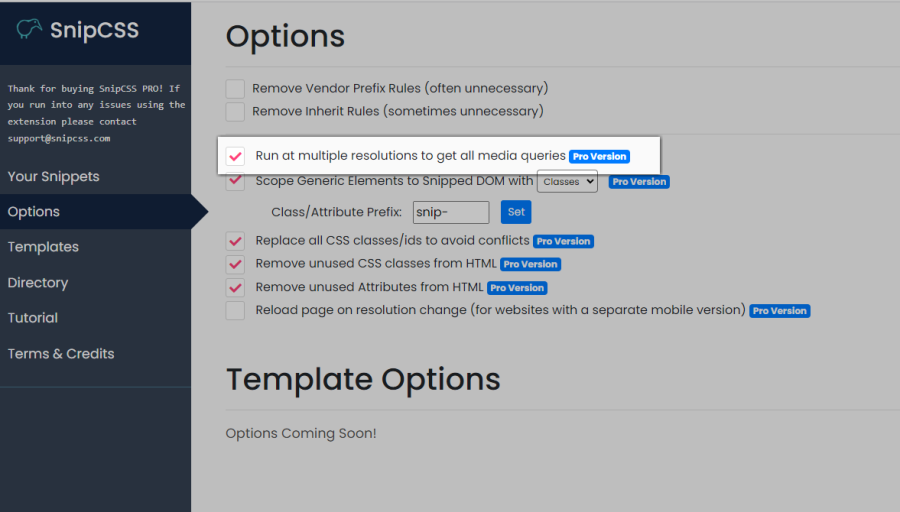
One of the main features of SnipCSS is that you have access to get responsive styles in every viewport size by running the snippets in the extension. With this feature, you can extract the template’s multiple resolutions unlike the free version which only allows you to get the desktop viewport.
Recommendation: Always Checked
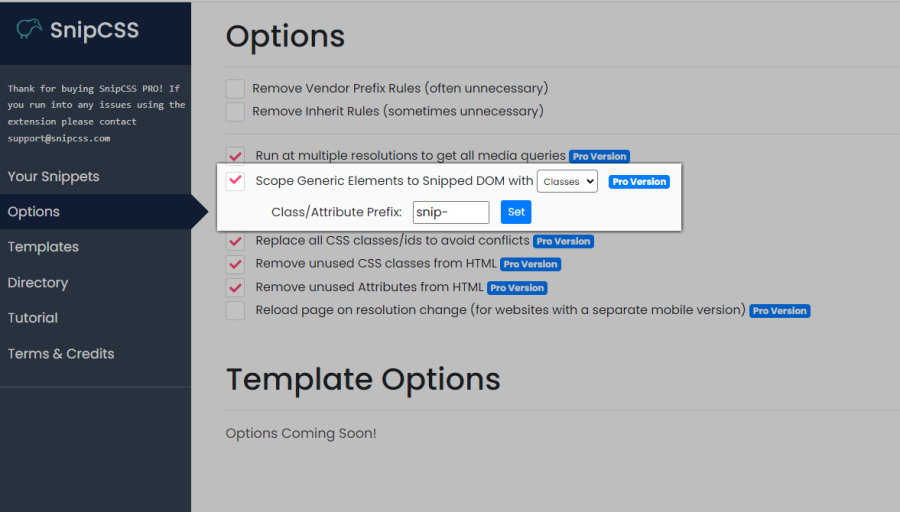
Scope Generic Elements (h1, h2, p, a, div tags)
If you like to just copy-paste the code snippets from the extension to your project, you might want to think about it. You're probably gonna overwrite your existing elements and tags properties when it starts to execute.
By default, the generic element tags are also extracted.
What are Generic Element tags? Well, they are element tags from HTML that are used as a selector in the CSS to assign/change its styles. For example: div, p, ul, li etc.
By activating this feature, the SnipCSS will convert these element tags into a classes/data attribute. You can also change the prefix or what would be the initial you want at the beginning of the generated class name. The system default prefix is “snip-”, and it will be followed by the selector with generic rules.
Example:
      	h2  changed into .snip-h2
      	p changed into .snip-p
      	ul li changed into ul .snip-li
On the other hand, you can select from the drop-down to use data attributes, which is a similar method to how VueJS scopes CSS.
Example:
h2 changed into [data-snip-IbytU]
Changing the rule to be a class instead of a tagname does change the CSS specificity, therefore the rules get put at the top so other class rules on the same element can override them.
Recommendation: Checked, unless starting a new site
Replace all CSS classes/IDs
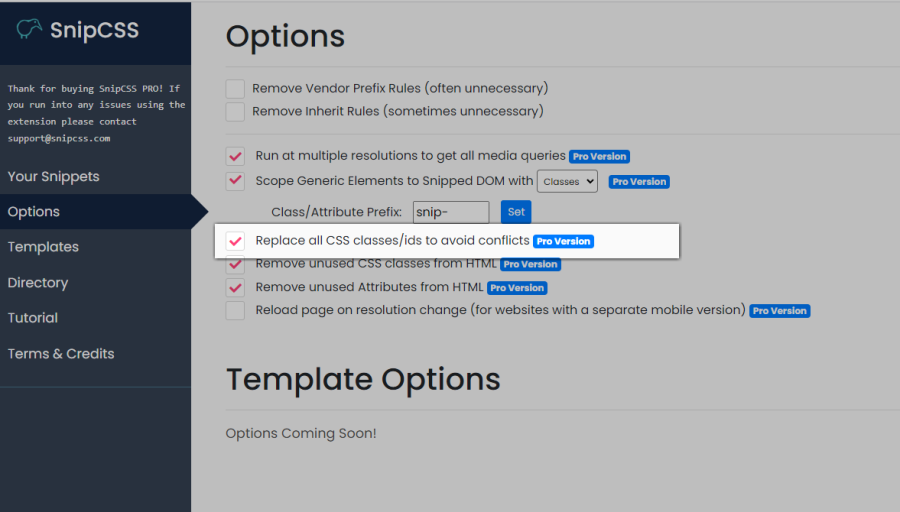
Another option in Pro is the transmogrifying or replacing all classes/IDs. This is an essential feature that creates componentized CSS snippets that can copy-paste into your existing project without affecting your existing codes.
Usually the class name keeps the first portion or first few characters of the original class, then some random characters to make it unique. For example the classes/IDs might be changed like this:
    	.flex-row-gap-2 changed into .flex-XaB
      	.link-selected:hover .row-wide changed into .link-ohi:hover .row-fx4
      	#large-container changed into #large-OpX
Sometimes if a site is using a framework like tailwind that you are also using, you might want to leave the classnames as is, then fix the problems between framework versions when dropping in your HTML. But most of the time I'd recommend this feature to be on.
Recommendation: Checked, unless a framework you are using is being used, or something is broken.
Remove Unused CSS Classes
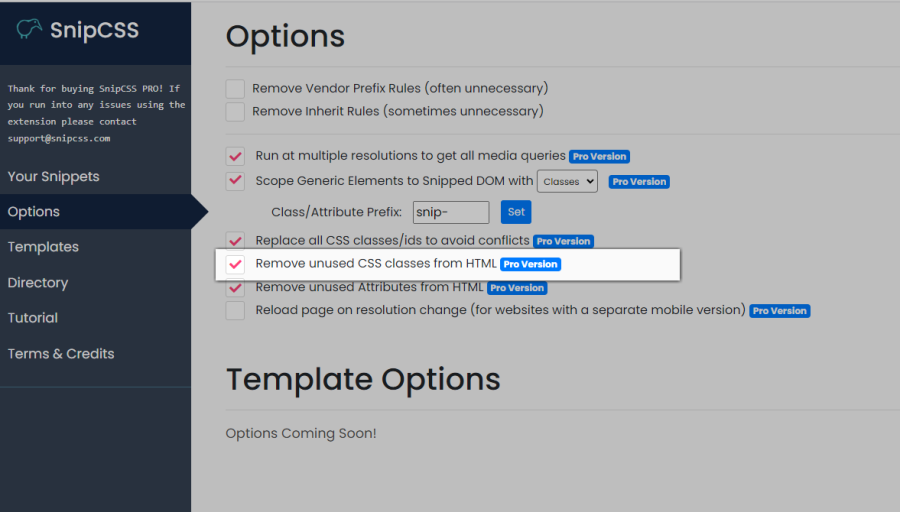
File size is important when running your website. This might affect your website's run time. The larger the files, the longer its running time to load. That’s why removing unused CSS classes can help reduce the size of your CSS files.
This is another feature that I would like to introduce. SnipCSS can remove unused classes that may be included in the extraction depending on the website you’re trying to copy.
There are some cases where SnipCSS does not detect a class that’s being used. For example in cases where a selector only has part of the class name like this:
      :where(img[class*="wp-image-"])
      {
        height: auto;
        max-width: 100%;
      }
If the class 'wp-image-large' is in the HTML, then when it scans the CSS selectors for that class it won't find it and it will be removed. Most websites don't use advanced selectors like this, so to try to clean up the HTML I leave it on, but it will be the first thing I’ll turn off if something looks off in the snippet’s output.
Recommendation: Checked most times, turn off and re-snip if you notice advanced selectors or something broken
Removed Unused Attributes
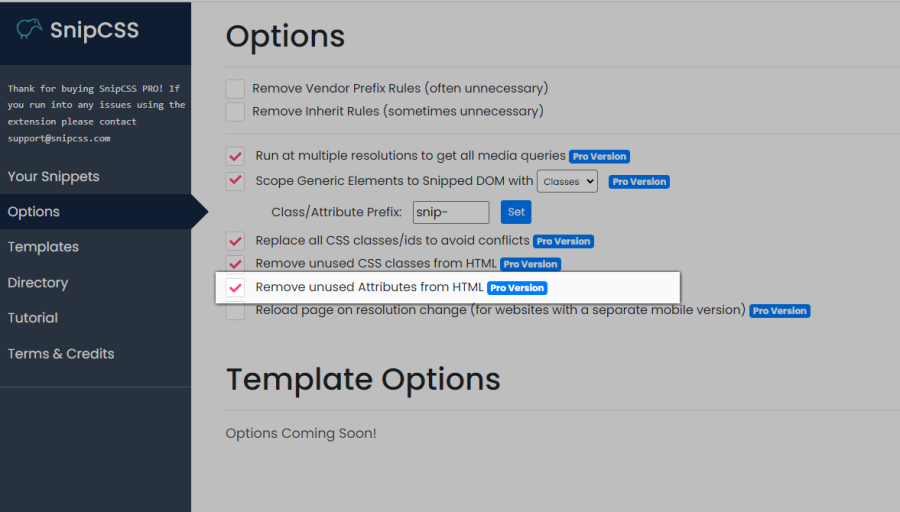
It's the same as the previews feature, removing unused attributes will also remove the unused attributes that are included in the extracted css code.
It may also have the same problems if for instance a part of a data attribute is used as a CSS selector. But there's a lot of junk attributes usually added by frameworks, so to try to get the cleanest HTML on the first attempt, it's better to leave it on.
Recommendation: Checked most times, similar to the remove Unused CSS classes option.
Reload Page on Resolution Change

Sometimes websites have a mobile version that only loads when you reload the page on a mobile viewport. By default, SnipCSS does not reload the page, because reloading will often change all class names/ids and others with framework generated code. In general, SnipCSS works better with this option off. But in cases where the webpage won't show the mobile version without reload, you can turn on this option to try and get all styles.
Sometimes when using this option you'll get a message that the element was not found when the resolution changes.
If this happens, you'll need to click the element again for the mobile version, then press the “snip again” button to continue. SnipCSS will then try to add that new element and the original to the output snippet.
Recommendation: Leave off, unless the mobile version of a website needs a page reload.
Other Pro Membership Features
Aside from the features that I mentioned above, there are other features that you’ll get access to when you’re a Pro member.
-
Credits
SnipCSS uses ChatGPT and StableDiffusion for generating template codes, React/Vue conversion and Prompt Generated Images. To get access to these features, you need to have credits and if you're a Pro member, you'll get enough credits and will replenish every month.
Note: To prevent abuse using this feature, Pro members still have a limited rate. -
AI Generated Image
With AI generated image features you can now have a copyright-free image that will be placed directly to your snippet. This is powered by StableDiffusion, just enter the description of the image you want to create in the prompt and it will generate and replace the image you want to change. No need to copy-paste the link to the src image for more convenient editing.
-
Directory Template Framework Conversion
Everyone can access the directory, even if you're not a Pro member or a visitor. You can view different pre-made snipped templates that we compile for free. Though you can access this, there are features that only Pro members can use like conversion of the template into a framework code like React/Vue. This will help you to code more efficiently and fast, especially if you're using these frameworks.
Conclusion
Hopefully, this blog gives you an idea on how to use SnipCSS effectively with the Pro version options. The extension might sometimes run into problems when extracting snippets, but by adjusting the options you can often work around them. By using SnipCSS to copy or adjust designs, I've already saved hundreds of hours of development and hopefully you can too.
If you have any suggestions or feedback regarding the Pro options or any features in the extension, feel free to email us. We love to hear from you.

